


Flannel Fiasco
This shirt gave me so much grief. No, I shouldn’t blame the shirt; it was totally my fault.
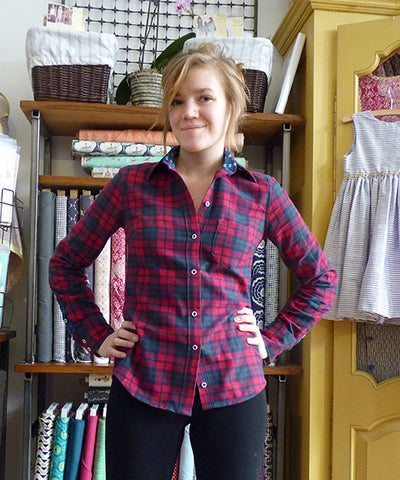
This is Burda 7136. It is so hard to find a good button-down shirt pattern, both for women and men! I’m eager to try out the Sewaholic Granville shirt, but we don’t have it in yet. Also, matching plaids in princess seams sound difficult, and I’ve had quite enough fun with this one.
Probably the hardest thing about making this shirt was ironing the flannel to get the grain right. If you don’t, none of the plaids will match! As it’s a twill weave, the fabric’s natural state is a bit diagonal, so you have to coax it with the iron to get the plaids perpendicular. I found it easiest to cut pieces from the fabric that were about the size of the pattern piece, correct the grain, and then cut out the piece, instead of trying to correct the whole length of fabric at once. Also, the right side of the fabric is the side on which the twill weave is prominent. I had to recut quite a few pieces from blanking out on that.
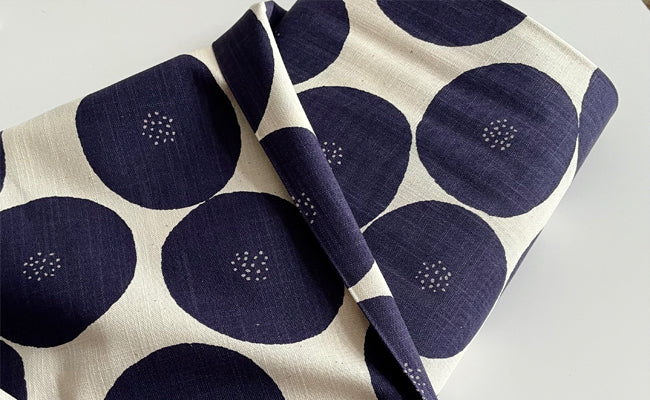
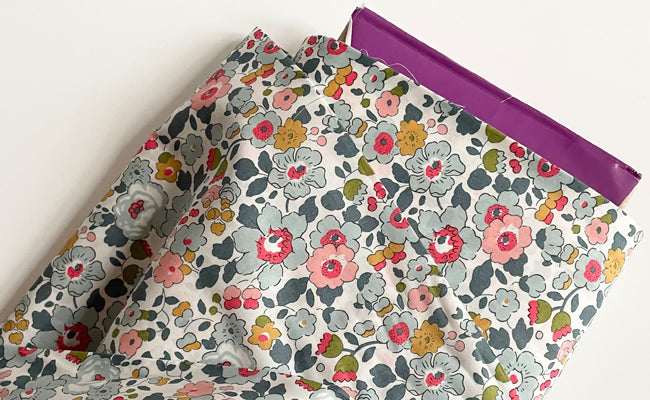
Isn’t this colorway nice? It’s and very traditional, I think, for a flannel shirt. Want some? Too bad, I used all of it! We’ve got some other really great stuff, though, and more coming in… someday. I did a really cool thing, too. I love using contrasting fabric, so I spent a long time pairing the flannel with other material. I thought a Liberty print would be beautiful, but I just wasn’t in love with any of the combinations I came up with. But then, as my eyes wandered across the shop, I spotted this block print:

The blues and reds in this Merchant & Mills block print are so perfect with the flannel!
Here you can see the daisy border print I used for the cuffs.
These white rimmed buttons play well with the irregular white spots of the print, too. The hem of the shirt is uneven by almost a half inch… It’s something I noticed as I was putting the shirt together, but forgot to fix before I hemmed it.
Let me back up.

Get it? Wow, you can’t even see the yoke, thanks to my amazing plaid-matching skills!
The inside yoke is made with the viney part of the block print, the print between the red daisies and the dots. Here’s a picture of me trying to get a picture of it.

It didn’t work.
A few sewing blogs have mentioned this book, Shirtmaking by David Page Coffin, as an excellent resource for shirtmaking techniques. So I got it out of the library, and read it all in a few days. It’s really interesting (if you’re into shirtmaking). I like his writing style, it’s very casual, and he’s very passionate about making a great shirt. What I really appreciated were the fitting techniques, and his draping method for creating a pattern of one’s own. And he provides templates for collars and plackets, which was so helpful because I lost my placket pattern piece.
He is very against darts and pockets in shirts, so I ignored all that. He gives some excellent advice on removing ease from a sleeve cap, which I wanted to do so I could flat-fell the seam. I wish I had pictures of it, but this was probably my biggest mistake.
To remove under 2″ of ease in the sleeve cap, you can just fold over the excess on the pattern piece on each side. So I measured around the armsyce, and I needed to remove exactly 2″ from the sleeve. I stitched the body and the sleeve together, and had an extra inch left over on the body. What I should have done was measure at the stitching line, because the seam allowance gives me an incorrect measurement.
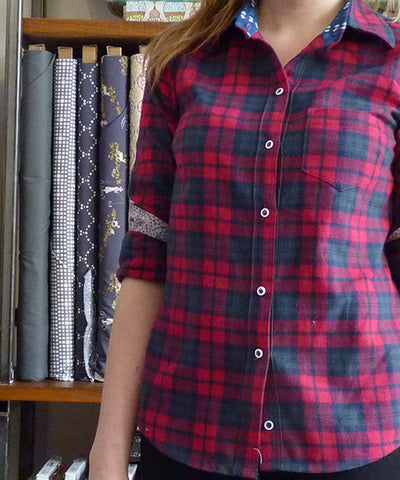
I went home that night, tried on another shirt I made with this pattern, and decided I could chop off that excess 1″ all the way down the side seam. So the shirt now has a much slimmer fit, which I really love!

Of course, before I messed all that up, I sewed both of the plackets on wrong. One was on the wrong side of the fabric, and the other was on the right side, but opened in the wrong direction. I realized this the fist time I tried sewing on the sleeves, and considered just leaving them like that. But I had spent so much time and effort already getting this shirt to look good, so I unpicked everything and fixed it.
Pretty cool placket, right?
I figured from there, everything would be smooth sailing. Boy, was I wrong! The other crazy thing that happened with the sleeves is that somehow the bottoms ended up bigger than the cuffs by over an inch. I had flat-fell the entire sleeve seam, and I couldn’t bear to unpick it because it was so hard to do since the sleeve was so narrow. I played around with pleating the excess, but that left a big balloon of fabric pooling over the cuff and it looked stupid. So I just stitched a wedge that tapered off below the elbow, stitched the end to the raw edge of the sleeve, and you can’t even tell.
Actually, I quite like that as well, because it gives the sleeve a bit of bend in the elbow, like the sleeve in a good coat. I finished the hem with bias tape made from the block print, giving the shirt a little extra length so I can wear it with leggings (right?). Whatever, it covers my butt enough.

As in my Wenona shirtdress, I used this method from Four Square Walls for constructing the collar. And I used the J Crew method of rolling up my sleeves.
It’s a shame this fabric is all gone (someone just bought the remnant to make a teddy bear, awwww!!!!). But, as you can see, it is well-loved.

Leave a comment
This site is protected by hCaptcha and the hCaptcha Privacy Policy and Terms of Service apply.