


DIY Tutorial: Liberty of London Scarf
Ahhh! I cannot believe its already August. These past few months have flown by, and soon enough summer will be wishing us farewell for another year.
With autumn so close my mind has been all over the new season’s fashion. I absolutely LOVE everything about fall, especially all the heavier weight knits and woven pieces that we start to dig out of our cedar chests. One of the best moments of this season for me is the sweet transition from summer into fall when the days begin and end chilly, but the sun is still bright and warm all through the afternoon.
These transitional days sometimes make getting dressed difficult. Its always a struggle to decide on long-sleeves or short, or if a jacket is really that necessary. In these times of doubt I tend to solve all my problems with lightweight scarves. They add just enough extra warmth without smothering you and they up the ante on any outfit, no matter what.
Today I’m going to walk you through a quick and easy DIY tutorial so you can sew your own scarf that’s perfect for cool summer mornings, warm fall evenings or anywhere in between. I based my tutorial off another I found through Pinterest on Purl Soho’s blog The Purl Bee. You can find the original post here.
This tutorial is great because it is incredibly simple and fast. Perfect for beginners, great for gifts, and extremely adaptable if you wanted to get really crazy and add applique, beading, sequins or any other fun embellishment you can dream up!
To begin you will need the following:
+ Sewing Machine
+ Scissors
+ Thread
+ Pins
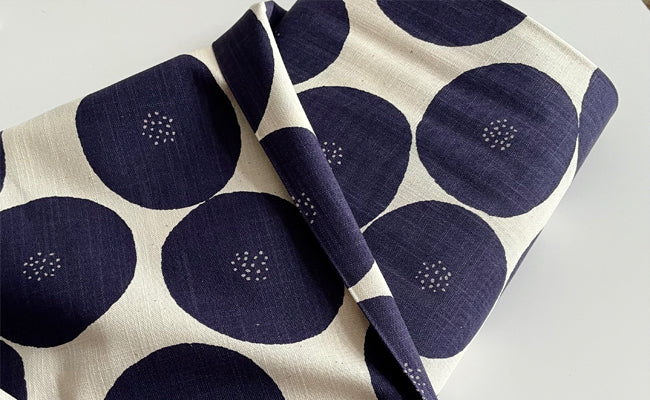
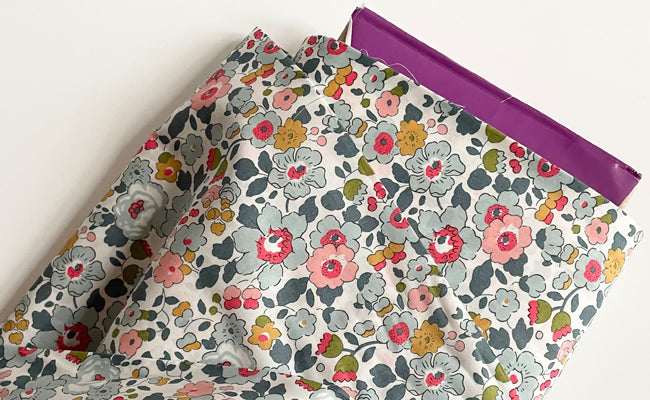
+ Two pieces of 72″ x 13.5″ cotton lawn (I used two of our Liberty Lawns and they are perfect!)
+ One 1/4 yard of pima cotton (in a contrasting color)

I decided to go with Liberty of London “Becci” (top), Pimalene “Dijon” (middle) and Liberty of London “Mark”. It took a ridiculously long time to make up my mind though, because we have SO MANY cute Liberty prints to choose from. If you haven’t stopped by to see them yet, you definitely should (and we just got new fabrics in today!).
I cut and ripped off two yards (72″) of each of the Liberty Lawns to cover my scarf length, then I snipped and ripped down the grain to get my 13.5″x72″ pieces of fabric. Don’t feel like you need to stick with the 13.5″ width- if you prefer wider scarves or square scarves by all means make adjustments. I decided on a 13.5″ width because it allows me to make 4 scarves out of two yard cuts of fabric. Other options are going with an 18″ width and getting 3 scarves, or 27″ and ending up with 2!
TIP: I recommend ripping instead of cutting so you can be assured all your edges end up straight.

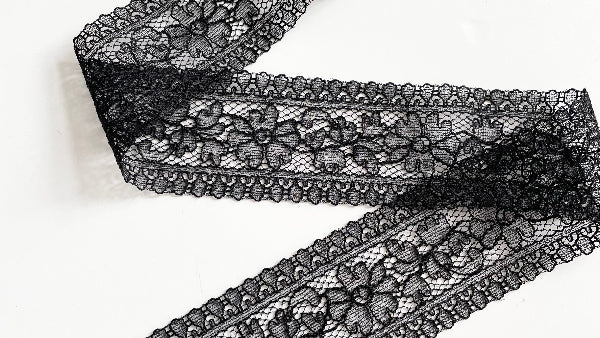
Also, go ahead an take your 1/4 yard of pima cotton and rip it into 1″ strips (You will only need about four strips or so to edge the entire scarf). Pull out any loose strings and press flat. You should end up with a nice frayed edge.

Now you should have your front and back sides of your scarf. Lay one on top of the other, wrong side to wrong side, to make sure all the edges match up. Make adjustments as needed.

Once everything is all matchy-match, go ahead and press each piece flat, then fold in the edges on each piece 1/4″ and press again.

Now lay one side of your scarf on the table, wrong side up, and take one of your 1″ strips and place it along the top edge of the fabric. The “1 strips will be the edging on the scarf, and should be placed so that about 1/4″ sticks up past the Lawn.
Continue to place the pima strips around the entire edge of Lawn, then lay the second piece of Lawn on top, taking care to assure that the edging sticks outs 1/4″. Pin through all 3 layers of fabric as you go.


Trim your corners neatly and you are ready to sew!
Choosing a coordinating thread can be slightly difficult when working with Liberty fabrics (so many colors to match with!). Make sure to find something that will coordinate with all three of your fabric choices. Or you may want to use a crazy contrasting thread color and even a decorative stitch to add a little something extra. I went the more conservative route with a neutral thread color.

Finally, stitch all the way around the scarf, keeping closing to edge of the Lawn while making sure you sew through all three layers of fabric.
And viola! You’ve just made your very own scarf. Be excited, be proud, put it on and be fabulous!
Here are a few shots of my finished product. I’m sorry I don’t have any picture of it being worn (I had no one around to to model it) but I plan on making more of these in the near future so I promise to post a shot of “scarf-in-action” soon!

I absolutely love this scarf! It has great patterns and lots of colors which make it very versatile. I’m very happy I came across this tutorial and am excited to share it with all of your. If you do give this DIY project a try, let us know how it goes for you! Leave comments or send us a picture of your finished project and we will post it on the blog and in our store. And remember, feel free to customize. Go bigger for an oversized sloppy-chic appearance, skip the double-side and add tassels for a lighter look and feel, or go for a square shape. Be inspired- Go forth and create!
Liberty of London has such beautiful fabrics and they are always great quality. Liberty Lawns are perfect for dresses, blouses and countless other garments. If you are looking for lightweight cotton lawns, or Liberty Lawns in particular, come visit us at Bolt and check out our selection. We have some great fabrics you are bound to fall in love with.
Until next time- happy sewing!
Leave a comment
This site is protected by hCaptcha and the hCaptcha Privacy Policy and Terms of Service apply.