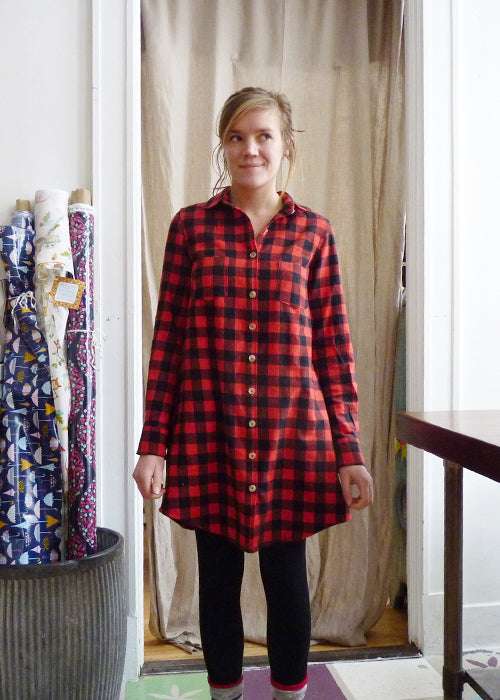
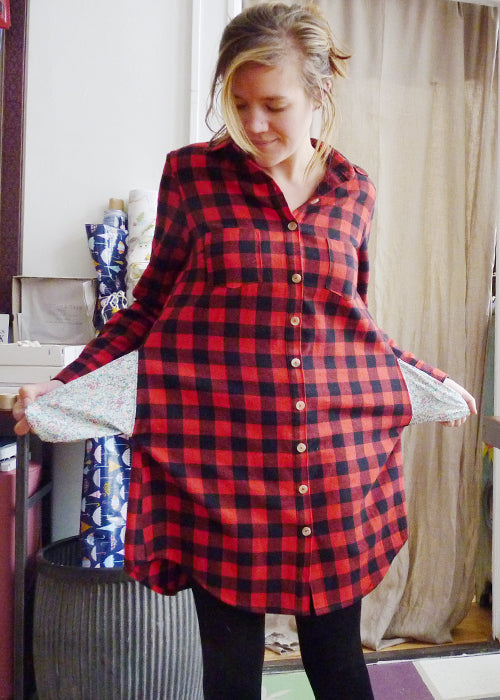
I feel like I've blogged enough about both the Grainline Alder Shirtdress and Archer Button-up Shirt. It gets boring to read (and write) about the same two patterns, especially when they're pretty much all I've written about for the past year. But this is different, because it's both!
The fabric is a classic buffalo plaid flannel. My socks have Santas drinking martinis, and it's too bad you can't see them.
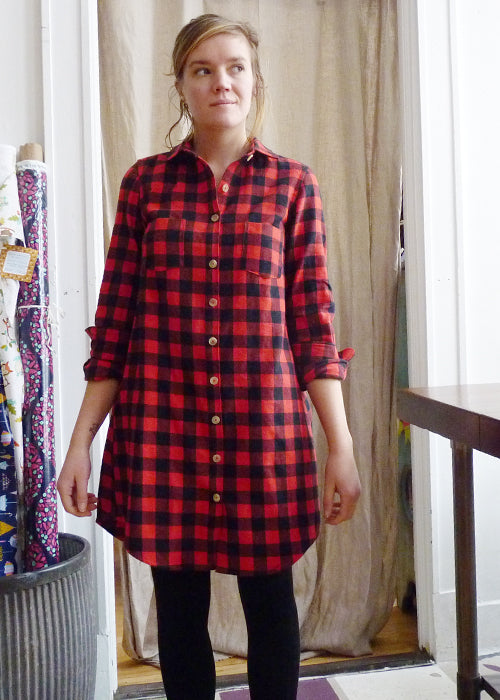
This dress could be made two ways : altering the Alder dress to have sleeves, or lengthening the Archer shirt. I prefer the slightly closer fit of the Alder, so I added the sleeves. If you want to do this, you'd need to add an extra 3/4 yard (the length of the sleeves) to the amount you need to make the Alder. I imagine you'd need about the same extra amount if you wanted to lengthen the Archer.
That being said, I squeezed this out of 1 3/4 yards. It wasn't easy, and I can't believe I was still able to match the plaids. Originally, this was like a shawl thing I made because I was cold. Really it was just a length of fabric that was cut down the middle, and I wore it once. I figured a shirtdress would be more useful to me.
If you want to do this too, here's some technical stuff:
I followed almost exactly this tutorial on the Grainline blog. However, where she added 1" to the armhole, I added 1 1/8" so I could sew with 5/8" seam allowances rather than the 1/2" that the pattern is drafted with. I prefer to flat-fell my seams and the extra 1/8" makes a huge difference. The Archer sleeves fit perfectly after that, with a small amount of ease that I was able to work in without gathering the sleeve. They are also sewed with a 5/8" seam allowance, so they are a tiny amount narrower.
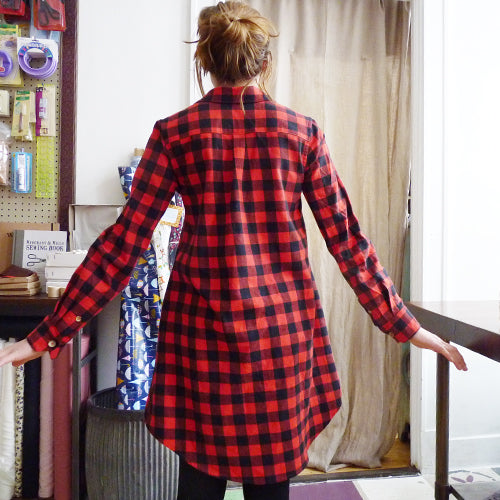
I added a back pleat in case I need to carry firewood or something. I don't know if it was necessary, but I like it!
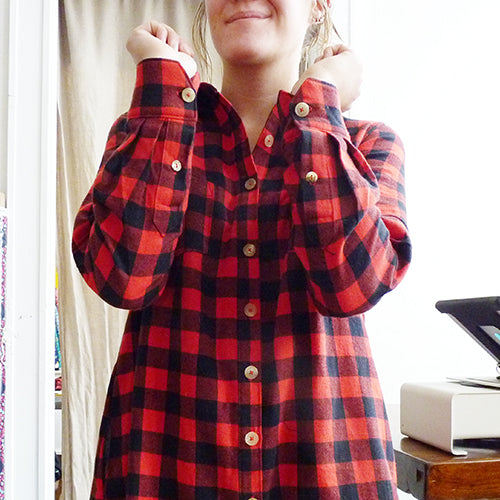
This dress responsibly uses all the parts of the buffalo -- the plaid and the horn buttons! For the sleeve plackets I used the backside of smaller agoya shell buttons. I'm not sure how this happened, but I goofed up the placement of the buttons, right where it's most critical : the bust. So there are three squares between them instead of two like the rest of the placket (this is how I figured out button spacing -- so easy!). But I didn't realize it until I was sewing on the buttons, after I had cut the holes. Guess I'm not fixing that! And I ended up with an extra buttonhole at the bottom.
Check out these perfectly matched plackets! I wish it was intentional so I could do this all the time, but honestly these were cut from the scrappiest of scraps.
I've come to love working with plaids because I actually find them easy to cut out (like, I cut out one sleeve and use that as the pattern piece for the other sleeve, and the plaids match perfectly). I'm also really into the syncopation I can create by perfectly mismatching the plaids. Below, however, is not what I intended.
Somehow the back is a stripe off from the front. There are some pretty funny mistakes in this dress. At least it fits well!
I added pockets. They're made from a scrap of Liberty of London Emma and Georgina, and don't match the dress at all, but that's okay.
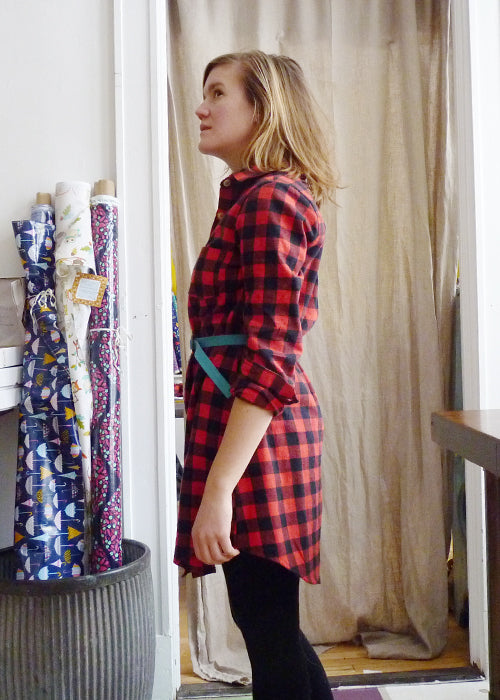
I don't own a real belt, but I made one for a different shirtdress, and it looks pretty good with this on too.
The belt really helps take it from bedtime to daytime! I distinctly remember my mom wearing a longer version of this to bed when I was young.

