


Inspired Advent: Day 21
OMG! People are coming for Christmas Eve and there is candle wax on the table cloth!
Panic? Yes, at first. Then head down to Bolt & Spool for this one-hour project that will be the shining star of your table – aside from your glazed ham, of course.
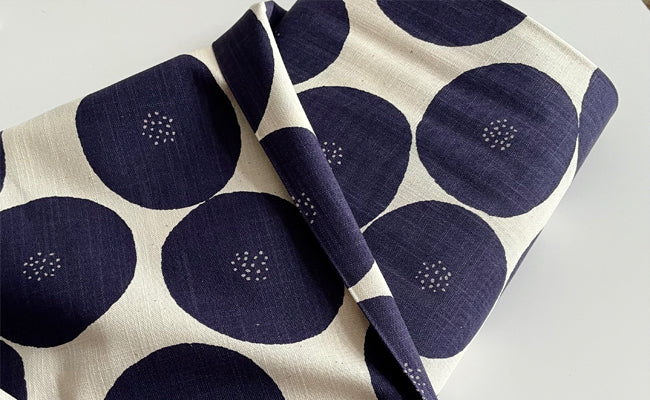
Two of our yummiest offerings at Bolt & Spool come together in this project for the holidays: our Belgian linen burlap and our holiday Renaissance Ribbons.
The best part? It takes about an hour to make and it is truly a show stopper. The other best part? Because the fabric is so wide, you can get THREE runners out of one 2-yard (plus) cut! Sweet! Now the kids table can match the adult table! Or give two as holiday gifts or hostess gifts!

I chose to make my runner 72″ long, but you can make yours whatever length fits your table. Remember that you will probably have your extra table leaves in, so take that into consideration. I forgot and now mine is too short. : (
I’ll use it on the buffet, so not to fret! This would also make a fabulous table cloth or place mat – so choose your size and follow along. The fabric is 56″ wide, so if you’re going for something square, that’s as large as you can go.
To get three runners, each needs to be 17 1/2″” wide. To get a perfectly straight cut the length of your runner, you can easily pull out a warp thread that will create a space or a “line” between two other warp threads to use as your cutting guide. So, once you get your measurements marked grab one of the warp threads (lengthwise) and pull as shown. You will get maybe a foot or so before your thread breaks. Pull it out and continue on. A seam ripper is a great tool to pick the thread out again and continue on until you get to the end of your fabric.

Here is my little pile of threads when I got done.

And here are my three runners cut and ready to adorn with ribbon!

Once you get your runners cut, measure 2″ from the end and begin pinning your ribbon to the fabric. A measuring gage is the ideal tool to use here! Now pin your ribbon going lengthwise. On whichever direction you choose to be your top, fold it over the end of the bottom ribbon and pin in place and do the same for the other end.

Using an edge foot or a topstitch foot, or just a very good eye, stitch close to the edge of the ribbon all the way around.

I was going to make this a lot more difficult and back it with our green velvet for a reversible runner; but, when I showed it half-done to a friend, she said she liked it with the frayed edges. And so, I deftly frayed the edges by pulling the a few of the warp threads on each side.

And here you have it!
Leave a comment
This site is protected by hCaptcha and the hCaptcha Privacy Policy and Terms of Service apply.