


Cheers to Summer: A Koozie Tutorial
Personally, I do not use koozies, because I forget I have any until I’m out of beer. But my sister loves them, and buys them any time she goes somewhere interesting. What a tourist. But she can never find any to fit her Budweiser Lime-a-ritas, which are smaller than your typical beer can. I’m not trying to promote these or anything… I had to steal a can from my parents. But, I made some pretty sweet koozies!

It was pretty difficult to find a fabric koozie tutorial online; most are made of neoprene. I found this tutorial on eHow, which is sized for 12oz cans. Mine is an 8oz can, so I had to play with it a little. The tutorial had no images, so I found it difficult to follow. But it made sense when the author said this was made like a tote bag. Let me show you!

Each of these pieces is 9″ long x 6″ tall. For a 12oz can, use fabric 9.5″ long x 7.5″ tall (I haven’t made one this size, so please don’t use your finest vintage silks on your first try). All seam allowances are 1/2.”
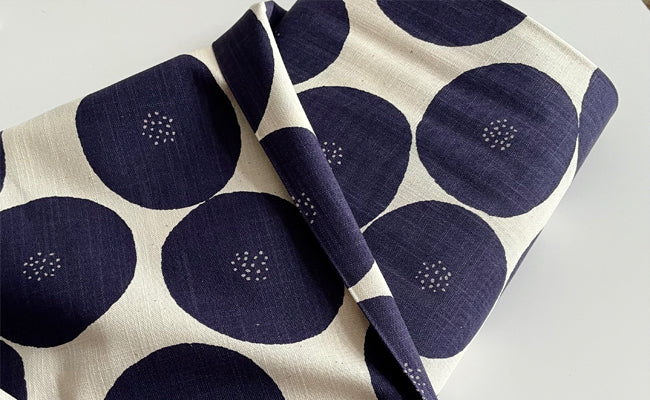
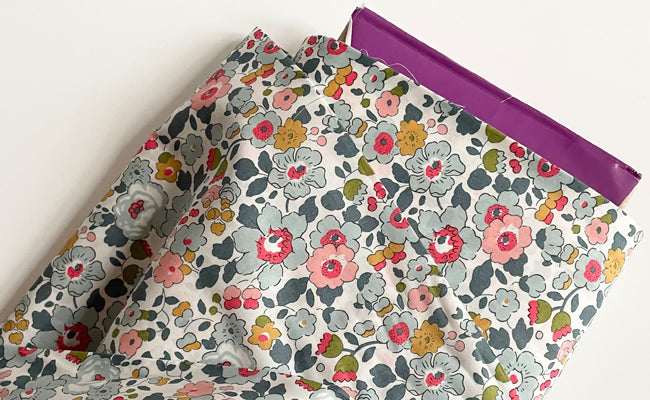
My sister lives in Charleston, and she and her boyfriend are huge Parrot-Heads. This fabric is so them. For the tutorial, the outside fabric is birch Samba in Geo, and the lining is birch Bossa Ukes in Teal. We have a million scraps on heavy interfacing, so hopefully that will keep their drinks cold. (I’m testing that right now, and it’s definitely working). I imagine you could also use polyfil batting, too.
So, I basted the interfacing onto the back of the main fabric, then stitched up the short ends of the lining and main fabric to make tubes. Press that seam open, and center it, and press the edges of the tubes as well.

Then, sew along the bottom edge. To help open up that bottom edge, I snipped the edges in the seam allowance that I pressed earlier.
This is the part in the eHow tutorial that caused a lot of head scratching, until I realized it was like a tote bag. Press the bottom edges into the creased edges, then (for both types of cans, apparently) mark 1.25″ from the center on each side.
This is how you create a rectangular bottom in a tote bag, and now in a koozie. Stitch along those lines and trim that down to 1/4.” Then, pick open the center bottom seam on the lining, between the two lines you just sewed.

Turn the lining right-side-out, stick it inside the outside one (so the right sides are together), lining up the seams, and stitch them together with a 3/4″ seam allowance. It’s not easy, but it’s a small thing so you’ll only be frustrated for a minute or two. I flattened it out, sewed a teeny bit, and repeated.

Here is where I forgot to take a picture, so when I made the second one, I remembered. But that’s why the fabrics are opposite.
Then pull the outside fabric through the opening the lining, and sew it up. Here’s how I did it:

It doesn’t have to be perfect, there’ll be a drink in it anyway.
Stuff that inside the koozie, put a cold can of something in it, and enjoy!
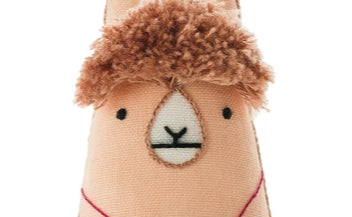
I’ll leave you with this sad little guy. I made it before I had a can of my very own, so the can doesn’t fit, and it’s way too tall. Also, I don’t recommend using coated cotton for a koozie. You’ll never get the can in. Or out.

Leave a comment
This site is protected by hCaptcha and the hCaptcha Privacy Policy and Terms of Service apply.