


An Inspiring Advent: Day 2
Day 2: Ready the guest room!
If your ironing board is happily situated in the middle of your guest room AND you have company coming for the holidays…what do you do? You either need to move it or dress it up a bit. Even if your ironing board isn’t in your guest room, do you really want them to use a board with a torn and stained cover? I think now is a good time to spruce it up a bit. Buy one, you say, at Target? No way! There’s like two or three styles to choose from, max. We are way too creative for that, people!! This is actually a fun and easy transformation to do.
I happen to be fixing up our ironing board cover at the shop for the same reason, so you can follow along with me. We decorated the store and it is looking really shabby now.
So, you can either just make a new cover for the board OR you can make a new cover AND spray paint those grayish/metallic blue legs a color that actually complements the decor of your room.
The bigger hardware and paint stores have a large selection of colors to choose from for roughly $4. I chose Rust-Oleum Gloss Protective Enamel in a red/burgundy color for ours since it seemed to go with our rug the best. You won’t believe the HUGE difference painting the legs makes. You don’t need to paint the top part where the pad will go since it gets covered up anyway. Look at these amazing colors! The orange was the one I really wanted, but I restrained myself!

The paint dries quickly, so you can easily do two coats to achieve a nice rich color that looks like it was powder coated on. Make sure to have adequate ventilation, or you will get a little loopy.
While the paint is drying, you can start on the fabric cover and pad.
Requirements:
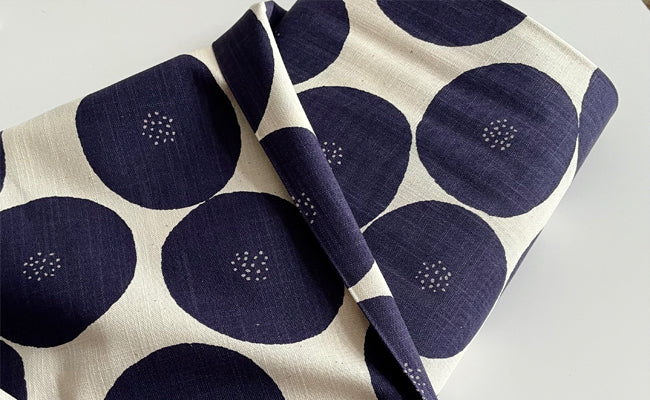
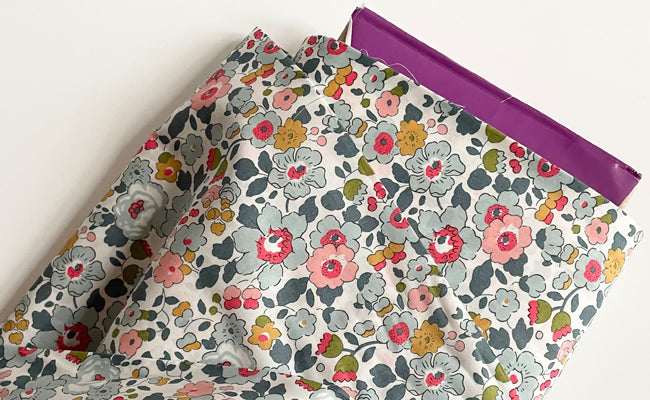
2 yards of cotton fabric – quilt weight is the best. Anything thinner would not hold up very well.
2 yards of organic cotton quilt batting
2 yards of elastic cording
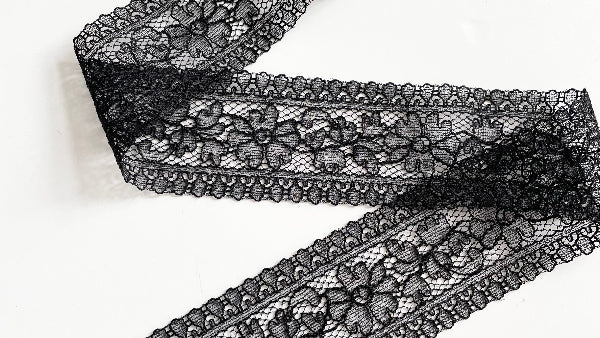
3.5 yards of extra wide bias tape – either double fold or single fold is fine because it won’t show
thread
bodkin or extra large safety pin
1 plastic cord stop

You are going to use your old ironing board cover as your pattern. So open it out and remove the elastic or cording that held it in place. This will ensure that you get it laid perfectly flat. I like a generous fit, meaning one that has enough fabric to go around without it popping off.

If yours looks good, go ahead and trace around it onto tracing paper or grocery bags opened out and taped together. Add at least 1″ all the way around to gather under. To be sure it will fit, try the paper pattern on your board and see how much you have to fold up under. I also like to fold patterns in half lengthwise to make sure the two sides mirror each other. Trim off any excess so they match exactly. Once you have your “new pattern,” go ahead and cut it out of both the fabric and your quilt batting.

Next, make a pattern for a piece of fabric that will adequately cover the “nose” end of the board to keep it from shifting and popping off. Yes, you can do this. It’s only an ironing board for Pete’s sake! See the diagram.
Lay all the pieces down in this order: quilt batting, fabric for the cover with right side up, piece of fabric for the underside, wrong side up. Pin the layers together and sew all the way around the edge just shy of 1/2″ seam allowance.
Remove the pins and turn right side out.
Now for the bias binding…because it only comes in 3 yard packages, you have to splice two packages together: lay two end pieces right sides together at a 90° angle as pictured, and sew diagonally across the two.

You will need to trim the little seam allowances and press open and then re-press the folds into the tape. Attach your bias binding by starting at the bottom of your cover. In the interest of space and the un-necessity of reinventing the wheel, here is a link to one of many tutorials on attaching bias binding. Leave a small opening where the bindings meet to insert your elastic cord.

The only semi-tricky thing about attaching this bias tape is that you need to round the bend from the main padded part of your cover to the “nose” facing as shown. Well, it’s not really tricky – just pay attention.

Insert your elastic cord using your bodkin or safety pin. Place the cover on your board, adjust the elastic and thread it through the cord stop to prevent it from getting sucked back through the casing.
If you like a little thicker pad, simply leave the old pad on under your new one. If it’s just too nasty, you have enough batting to cut another pad to lay under your new cover. We tried sewing with two thicknesses of quilt batting and it was a pain! Not recommended.

Look how fresh! You will be so pleased with your new board! (And your company will be SO impressed!)
Leave a comment
This site is protected by hCaptcha and the hCaptcha Privacy Policy and Terms of Service apply.