


%20line,%20you%20can%20make%20these%20belts!%0A%0AHere%E2%80%99s%20how:%0ASelect%20a%20ribbon%20that%20you%20love,%20preferably%20one%20that%E2%80%99s%20not%20wider%20than%20your%20belt%20loops,%20and%20pair%20it%20...)
Handmade Gift : Belts
Need a quick gift idea? If you can sew a straight(ish) line, you can make these belts!

Here’s how:
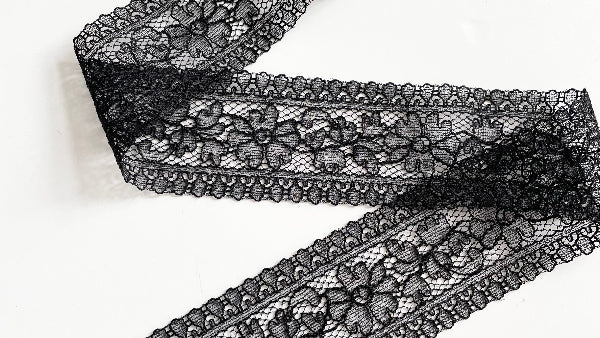
Select a ribbon that you love, preferably one that’s not wider than your belt loops, and pair it with a coordinating fabric. One with nap is preferable, so a corduroy or velvet are ideal. The nap provides thickness to the belt, and grips other fabric well so it will stay in place. Canvas will also work, although nappy fabric is best. Oh, and you’ll need a belt buckle, D-rings, or O-rings that will accommodate the thickness and width of your belt.
Decide on the length of the finished belt. You’ll want some extra length to go through the buckle, plus an inch for finishing the ends (which I will explain later). You will need that much ribbon, plus about 8″ to add to the backside (which I will also explain later).
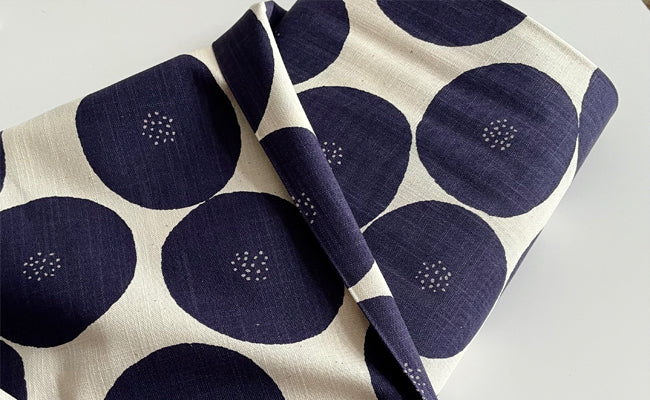
I wanted this particular belt to be 46″ long. I needed an extra inch to finish the ends, and plus an inch and a half to attach the buckle. I used corduroy, because velvet was too bulky to fit through the buckle. So I cut a 49″ strip of fabric.
To figure out the width, I approximately doubled the width of the ribbon. This ribbon is 1 1/2″ wide, so I needed a 3″ wide strip of fabric.

In case you’re curious, this ribbon is Imperial Blooms in Gold by Sue Spargo, and the fabric is a new color of finewale corduroy in Williamsburg Blue.
Okay, let’s make a belt! To finish the fabric ends, fold them in 1/2″ and press. Then fold the strip of fabric in half and press. Open that up, and fold the long edges into the center.

Nest, attach the ribbon to the fabric. The ribbon will cover up the open edges of the fabric that you just brought together. The easiest way to do this in the use stitch witchery or heat ‘n bond — something that will prevent the ribbon from slipping around as you stitch it. Pins work okay, but heat ‘n bond saved my butt from messing up tons of belts.
Decide which end you want the buckle to go on (typically it’s the left, when you’re looking at the belt, but you can do it however you want). Fold over about 1/2″ of your ribbon, and tuck it into the open end of the belt fabric.

Adhere the ribbon to the fabric, using pins or heat ‘n bond or whatever, and when you get to the other end, fold the excess ribbon over to the backside. Fold the raw edge of the ribbon under itself.

Stitch close to edge of ribbon, making sure the ribbon on backside of belt also gets stitched. Also, stitch down the above end of ribbon, because that will encounter some stress when going through the buckle.
Pull the tucked end through the belt buckle, stitch it down, and you’re done!

Leave a comment
This site is protected by hCaptcha and the hCaptcha Privacy Policy and Terms of Service apply.