


Datura Blouse to Dress : A Tutorial
Remember when I said I would make another dress from the Deer & Doe Datura Blouse? Well I did that, almost immediately after I committed myself to it. Unfortunately, making something and blogging about it are two completely different kettles of fish. Why can’t projects just blog about themselves?
Anyway, we’re still out of stock on the Datura patterns… but we did order more! They just have to find their way here from France. And once they come, you’ll be the first to know! Okay, onto the dress!
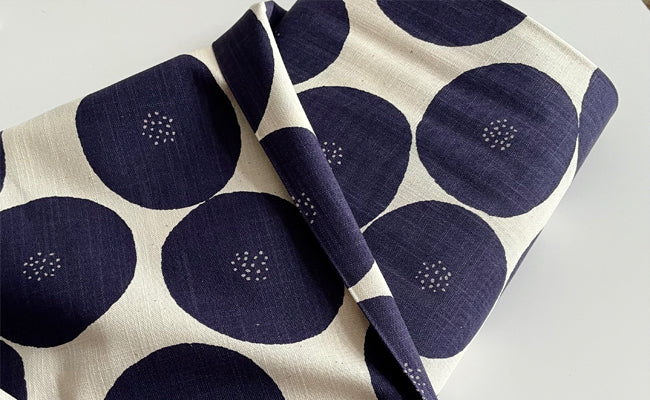
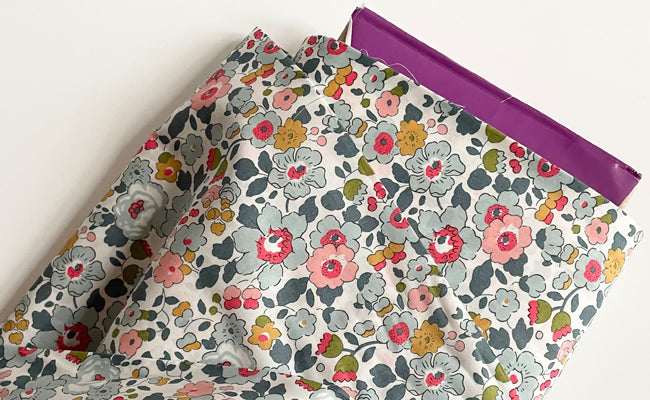
Here is the fabric I used for this one:

From left to right, the main fabric is Liberty of London Betsy D Tana Lawn (one of my favorites that we have, although we recently received a new shipment of Liberty, and I think I love some of those more!), and then a Robert Kaufman lawn in “Willow,” and then a light blue cotton satinella batiste. You should love to wear the things you wear, right? I left my dress largely unlined because I made myself underwear with the scraps, but the yoke is lined with the batiste and all bias tape is made from the Willow lawn.
Altering the pattern is very easy, it just involved some folding. Sorry, my pattern is traced and has been given much love.

The top piece is the yoke, and the bottom is the back piece. To remove the button placket (you don’t need that on a dress) just line up the edges with the back yoke and fold over any extra. That happens to be in the middle of the interior lines for the button placket. Then you can line that new edge up with the fold in the fabric and cut the back in one piece.
The other thing you need to do is shorten the blouse and straighten it out. I did that by folding the bottom up, and lining the straight edges up. When I did this for the first dress, I folded the front and back piece up at the notches, and I felt they were a little too short. This time I measure down from the notches about 2 1/2″ and the bodice was too long! Maybe the next one will be just right. Actually, my downfall was that I figured I would try the bodice one and bring the waist up before I added the skirt, and I neglected to do that. Moral of the story is, make muslins and try stuff on. But I still wear it, and will probably alter the waist eventually.
I just realized I have no images of the skirt construction. Good job, Debbie! But don’t worry, it’s not hard! Nan made a tutorial for this gathered rectangle (or dirndl) skirt a while back! I think I wanted my skirt to be about 16″ long, and then I added another 3″ so it would have a nice hem. So I tore a 19″ length of the entire 56″ width of the Liberty fabric, then tore that 56″ in half. So I was left with two rectangles of 19 x 28″ fabric. Some of you may prefer fuller skirts, so you may need a little more fabric than that.
You want to attach the skirt pieces before you sew up the sides of the blouse-dress. But I do recommend sewing the shoulder seams, and basting or pinning the sides together to try it on and make sure the bodice length is right. For the skirt, I ran two lines on basting stitches along the top long edge of each piece, then gathered them to fit the bodice piece, which didn’t take much for this particular one. I attached a panel to the front and back bodice each.
On my first iteration of this dress, this was the point at which I added the exposed waist elastic. You can do that by fitting the elastic snugly around your waist, cutting the length n half, then attaching one piece over the front seam and one piece over the back. I liked that because when I sewed up the sides of the dress, the raw edges of the elastic hide inside the dress! You can only do this with exposed elastic though. We have some at Bolt & Spool, if you like bright orange! I love it.
I didn’t think bright orange elastic would look good with this dress, so I decided to go with a waist tie. Here is the dress all sewn up, pre-waist tie.

Nice muumuu, Poppy! I shouldn’t make fun of her, that’s what it looked like on me too.
The waist tie for this is super easy. I made my own bias tape for to bind the armsyces, so I made extra for the waist tie casing. Colette has a tutorial here, which is the method I always use. You can use purchased bias tape, I just made do with what I had, which was a ton of fabric scraps. I double folded the raw edges and pressed them inside the tape, like in the picture below. The finished length of the bias tape, after folding the edges in, should be the waist of the dress (not your waist). The easiest way to do that is to double-fold one edge, stitch the tape to the dress, and figure out the other edge once you get to that point.

Find the middle of the front of the bodice, right at the waist seam, and start the bias tape there. Open up the middle fold of the bias tape, then topstitch the bottom edge along the waist seam of the dress, going all the way around and over the opening at the front of the dress. Now topstitch along the top edge of the bias tape, and there you go! Casing!
Use a safety pin to thread either elastic or ribbon or rope, however you want to cinch in the waist.

Alternatively, you could do this casing on the inside. That would be nice if you want to use elastic.
Here it is!

Oh, and I actually finished the arms and hem on this one.

Leave a comment
This site is protected by hCaptcha and the hCaptcha Privacy Policy and Terms of Service apply.